Building with Supabase & Shadcn
Sep 26, 2024

I’ve been in Front-End Development for 5 years and have grown too comfortable with it. I like building things and have been observing on how my Backend peers work on their things when it comes to building web applications.
Down the road, I’ve heard from my peers that Supabase is quite a banger and seeing that Web development has a fresh UI components called ShadCN. I picked an interest in combining those tech stacks and decided to build an app to share my thoughts on those.
Disclaimer: This post doesn't cover step-by-step on how to use Supabase and integrate it with your Shadcn Next JS app. I’ll write a more practical guide later on, this post is more about the building blocks that enable building an app with a smoother developer experience and ship it faster.
The Backend as a Service (BaaS)
As a developer’s POV, whenever we build a web application from scratch, the hassle often occurs on:
- Configuring the database and making it accessible
- Setting up the authentication and authorization
Making API resources available with all database queries or using ORMs
There is quite a learning curve for Frontend Devs to build things out. Although it is possible to learn with other programming languages (such as PHP and Golang), Supabase makes it easy for Front-end developers with fair-share knowledge of how Back-end stuff works.
I’ll share how much Supabase has been helpful for me thus far, if you find my approach lacks in some things, feel free to comment!
User Management Options
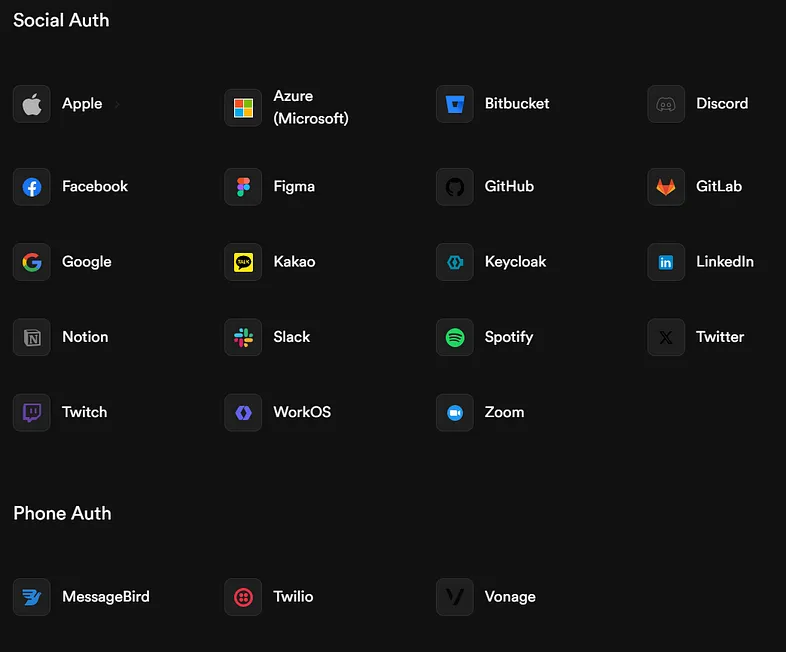
Supabase supports lots of social and phone auth
The user registration and login process can be quite time-consuming. Especially when we want to allow our users to have social login with OAuth like Google, GitHub, Twitter, and such.
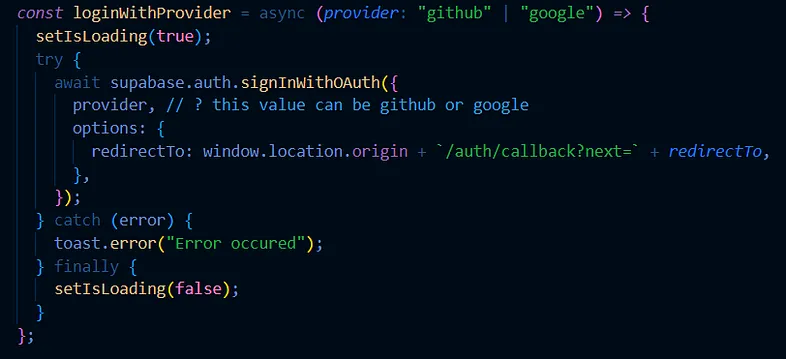
OAuth with Github or Google
I’ve tried both Google and GitHub OAuth. The integration is seamless, for my case I just pass the provider from the button onClick to call this loginWithProvider().

The slight difference on how to register and login our users
To register and log in for our users with basic email, we can use supabase.auth.signup() and supabase.auth.signin() respectively. If you need the users to have valid emails, you can use magic links. However, as of 26th September, you’ll need to configure your own custom SMTP. You can refer to this GitHub discussion for more info.

Tables and Views
Under the hood, Supabase uses PostgreSQL to store and fetch data. When choosing whether to use tables or views, I usually take a look into the query complexity.
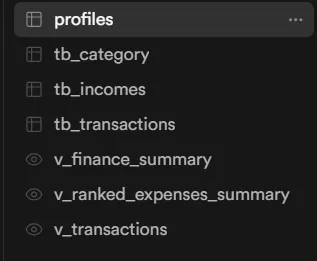
Sneak peek on my Table and Views naming conventions from Supabase Dashboard
If there are lots of JOIN tables involved, the performance might suffer and make your users frustrated with how slow your web application is. Therefore, for me, it’s better to have the painful and complex SQL Query run once and make it a view, so the loading is significantly faster.
Views are better used for reusable and simplified representations of your data, Whether complex subqueries or join multiple tables.
CRUD Operations
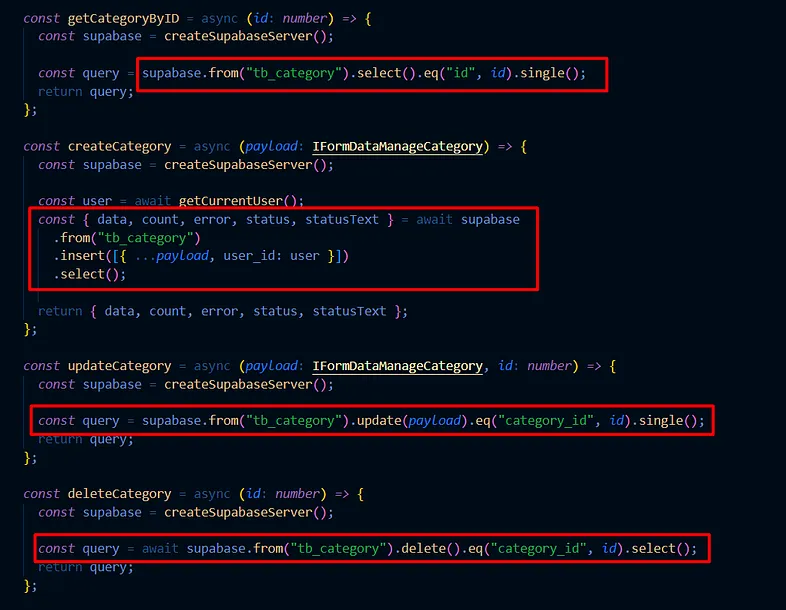
Basic CRUD for one of my table
The approach is quite similar to how you use ORM in the back end side. If you
are a fellow Front-End developer like me, you may relate to this bunch of codes
which are usually being put in /actions or /api/ folder. If you play with
skeleton UI or loaders without lots of useEffects, these functions can be called
in useQuery() by
.
Row Level Security (RLS)
In my early discovery of Supabase, I got lots of empty data even if I had lots of records in my tables. Also, the functions for create, update, and delete don't work. After an hour of debugging (yes I debugged and had no clue of it) and reading the docs, I figured that Supabase has an additional layer of security which we need to allow the specific tables to be accessed.
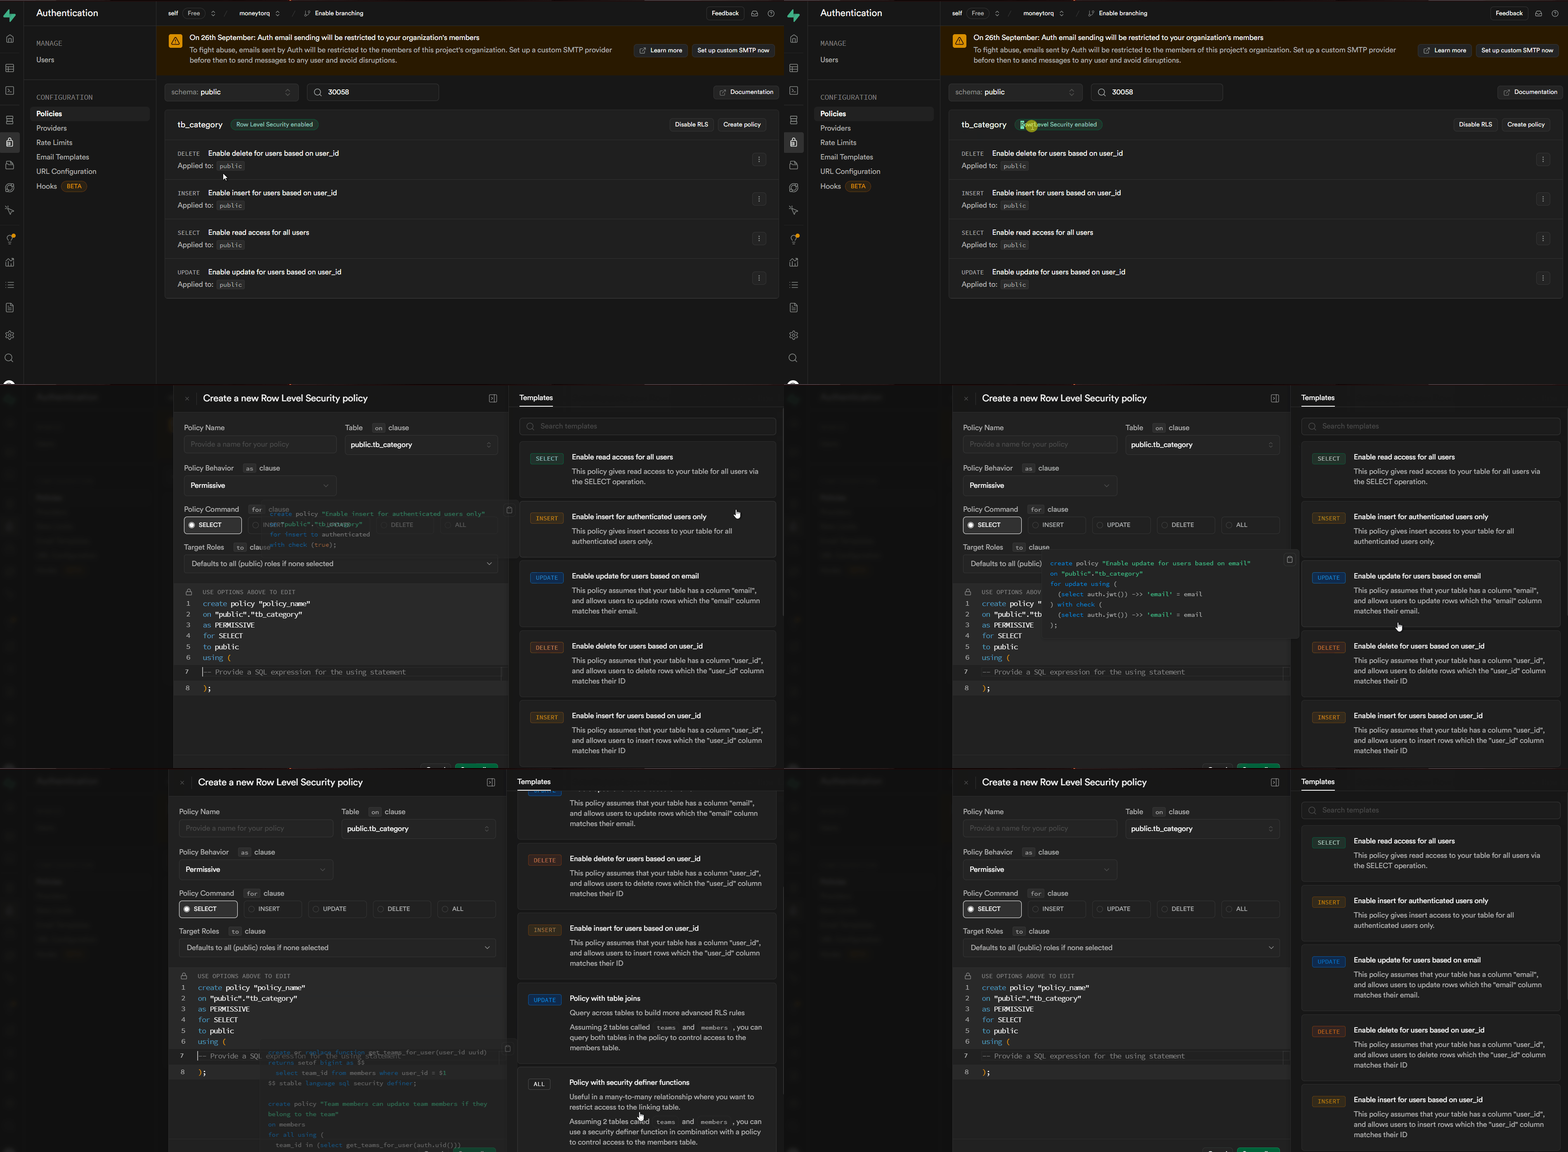
Make sure to apply RLS policy for CREATE, READ, UPDATE, and DELETE whenever you create a new table.
Now, we check on our app. The data should be displayed and other create, update, and delete operations should be working.
If you are keen, you might see that all of the target roles for my RLS policies all set up for the public. This means that even the unauthenticated users in our application can access our API if they know our API Key and Supabase Project. This is fine for the beginning. But once you set the Authentication part (in the first section), we need to set the target roles to authenticated .
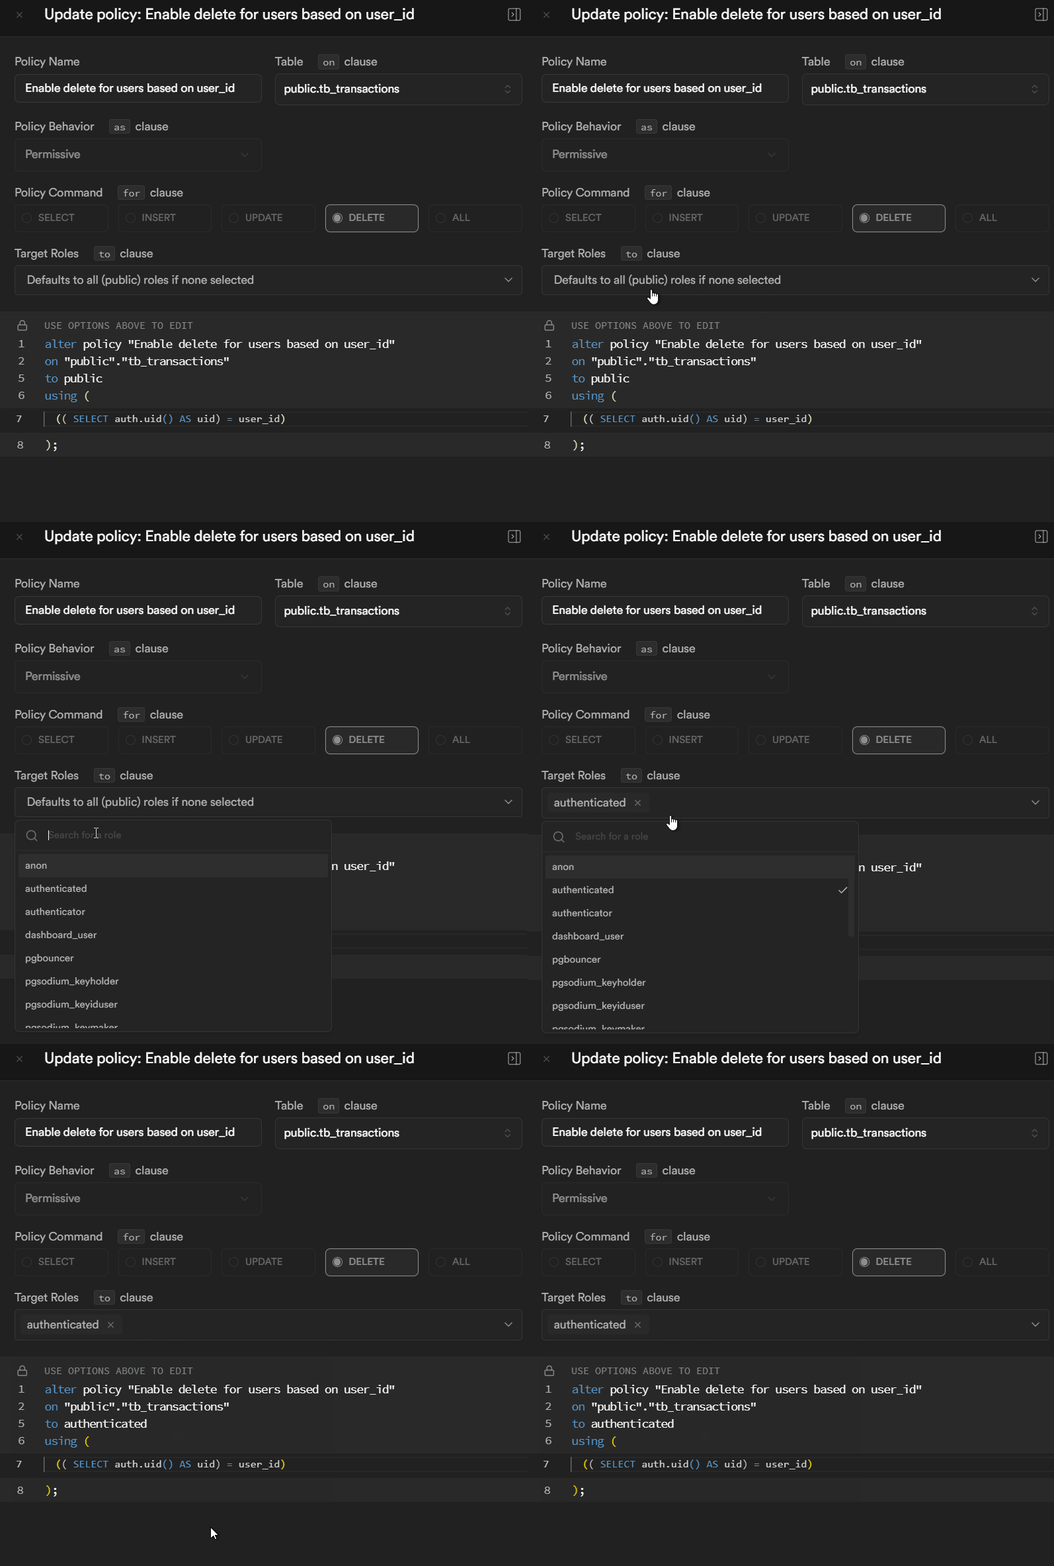
Well yes… It’s that simple.
From above GIF, i want you to take a look at line 7. We can also utilize the policy so that the operation is destined for the logged in user. This is helpful because we don’t need to put .where() conditions in every in every /actions or /api/ files.
Remote Procedure Calls (RPC)
RPC in Supabase is a function defined in PostgreSQL. Like views, we can put an RPC for complex SQL queries so that our Frontend code is much cleaner.
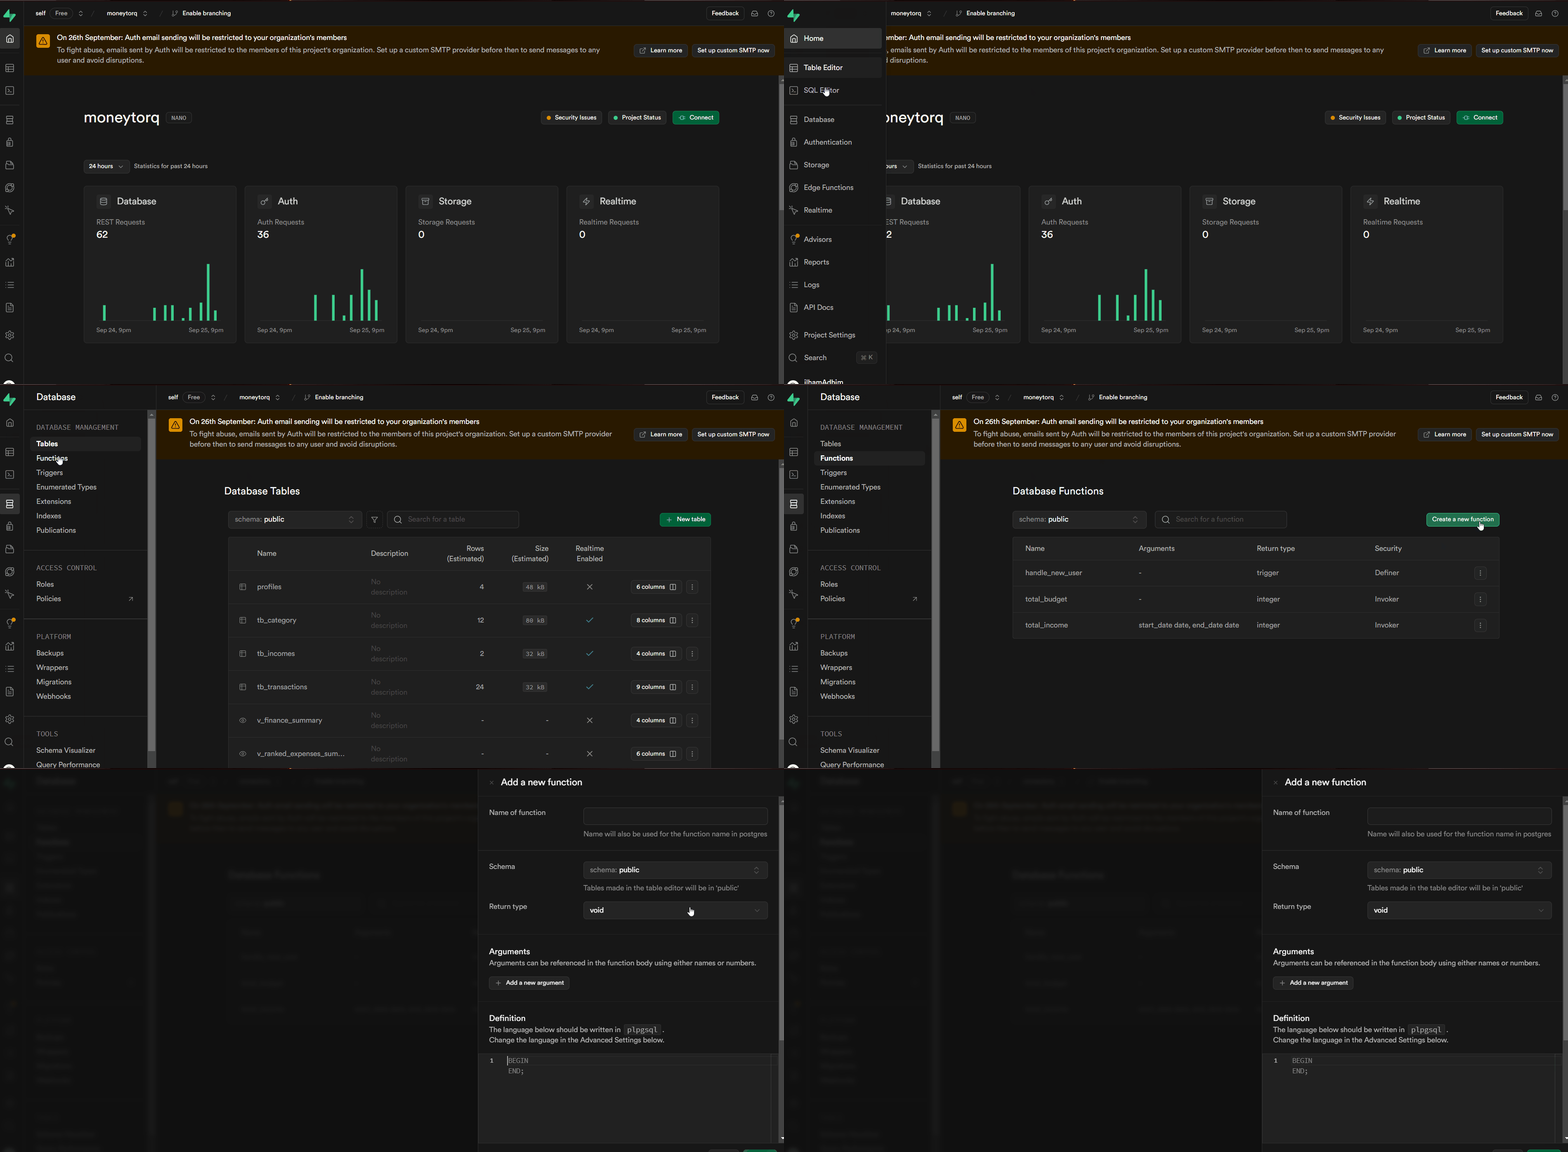
This is where you can see RPC menu in Supabase Dashboard
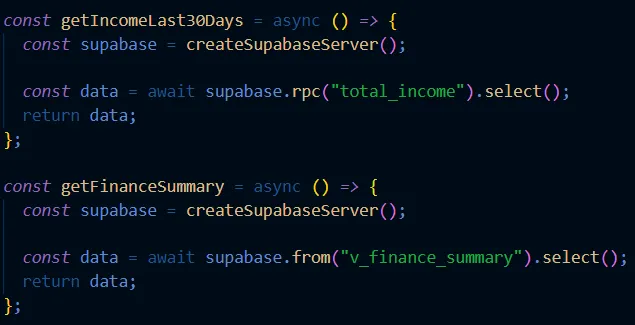
Sneak peek at my project regarding how we use RPC and directly fetch the data from views. Do you notice the difference?
It’s very similar on the surface. Both can apply RLS policies, and both business logic is placed on the Supabase Dashboard. In the above example, we can use both RPC and Views as we like. But from the nature of PostgreSQL, the main distinction is we only can do READ in our views . Whereas the RPCs can do READ, INSERT, DELETE, and UPDATE.
While views with RLS already cover most of my current READ use cases. It’s good to note that RPC offers more flexibility that you may need.
So why not put all of our /actions/ or /api/ to RPCs instead of using functions from supabase-js? …… Well, you technically can do it. But it’d be counter-productive since we don't have better access to debugging error conditions and not seeing any request made in the Network Tab.
So, finding the sweet spot of combining both worlds is important.
The Reusable UI Components
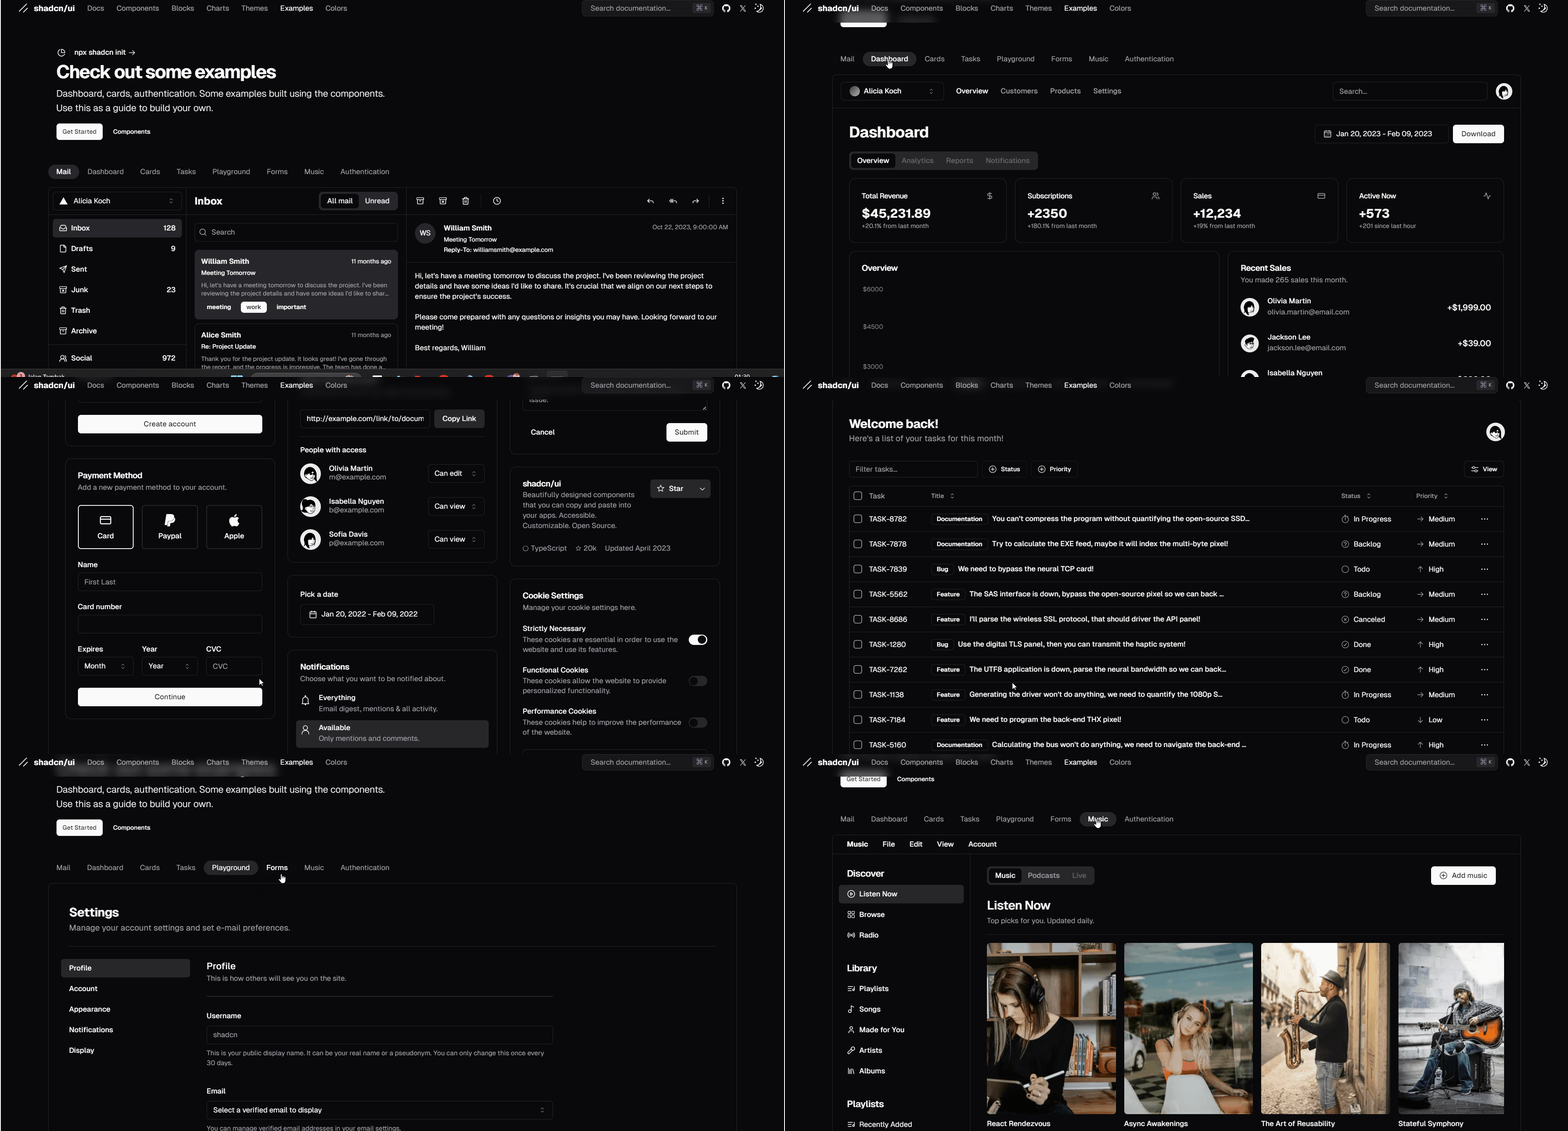
Now we’re talking on the Frontend side. Do you like how customizable is Tailwind CSS but find yourself in the hassle of recreating the components over and over? Well… you can consider more predefined component blocks like Flowbite or DaisyUI .
OR
If you’re like me and like Vercel design environment (Yes this is very subjective), you can use Shadcn.

Shadcn is like Tailwind with Steroids.
Instead of installing the whole component library like Flowbite, Daisy UI, and ChakraUI. ShadCN initialize to configure components.json. How?
After running npx shadcn@latest init :

Then, you can input this in your CLI whenever you need a pre-built component by npx shadcn@latest add [component you need] . For a list of components available, you can refer to this collection.
Composites

Two level of components for Shadcn.
Whenever you add a component with your CLI, a new file is generated in your /components/ui/ folder. These UI Components are low-level, so you might need to wrap some things up, like creating Modals with the disclosure, customizing charts, etc. Oftentimes, you can just have a look at available blocks.
Also written on
Medium